
Decided to try some long exposures with a homemade Redscale 35mm film.


And a metro…


And some normal exposures…


Decided to try some long exposures with a homemade Redscale 35mm film.
And a metro…
And some normal exposures…
Posted in Lomography, Photos
Tagged 2013, 400 iso, cars, DIY, Kodak max 400, light trails, Lomo, lomography, long exposure, motorway, Mowbray park, night, Redscale, road, snow, sunderland, uk, Washington, winter
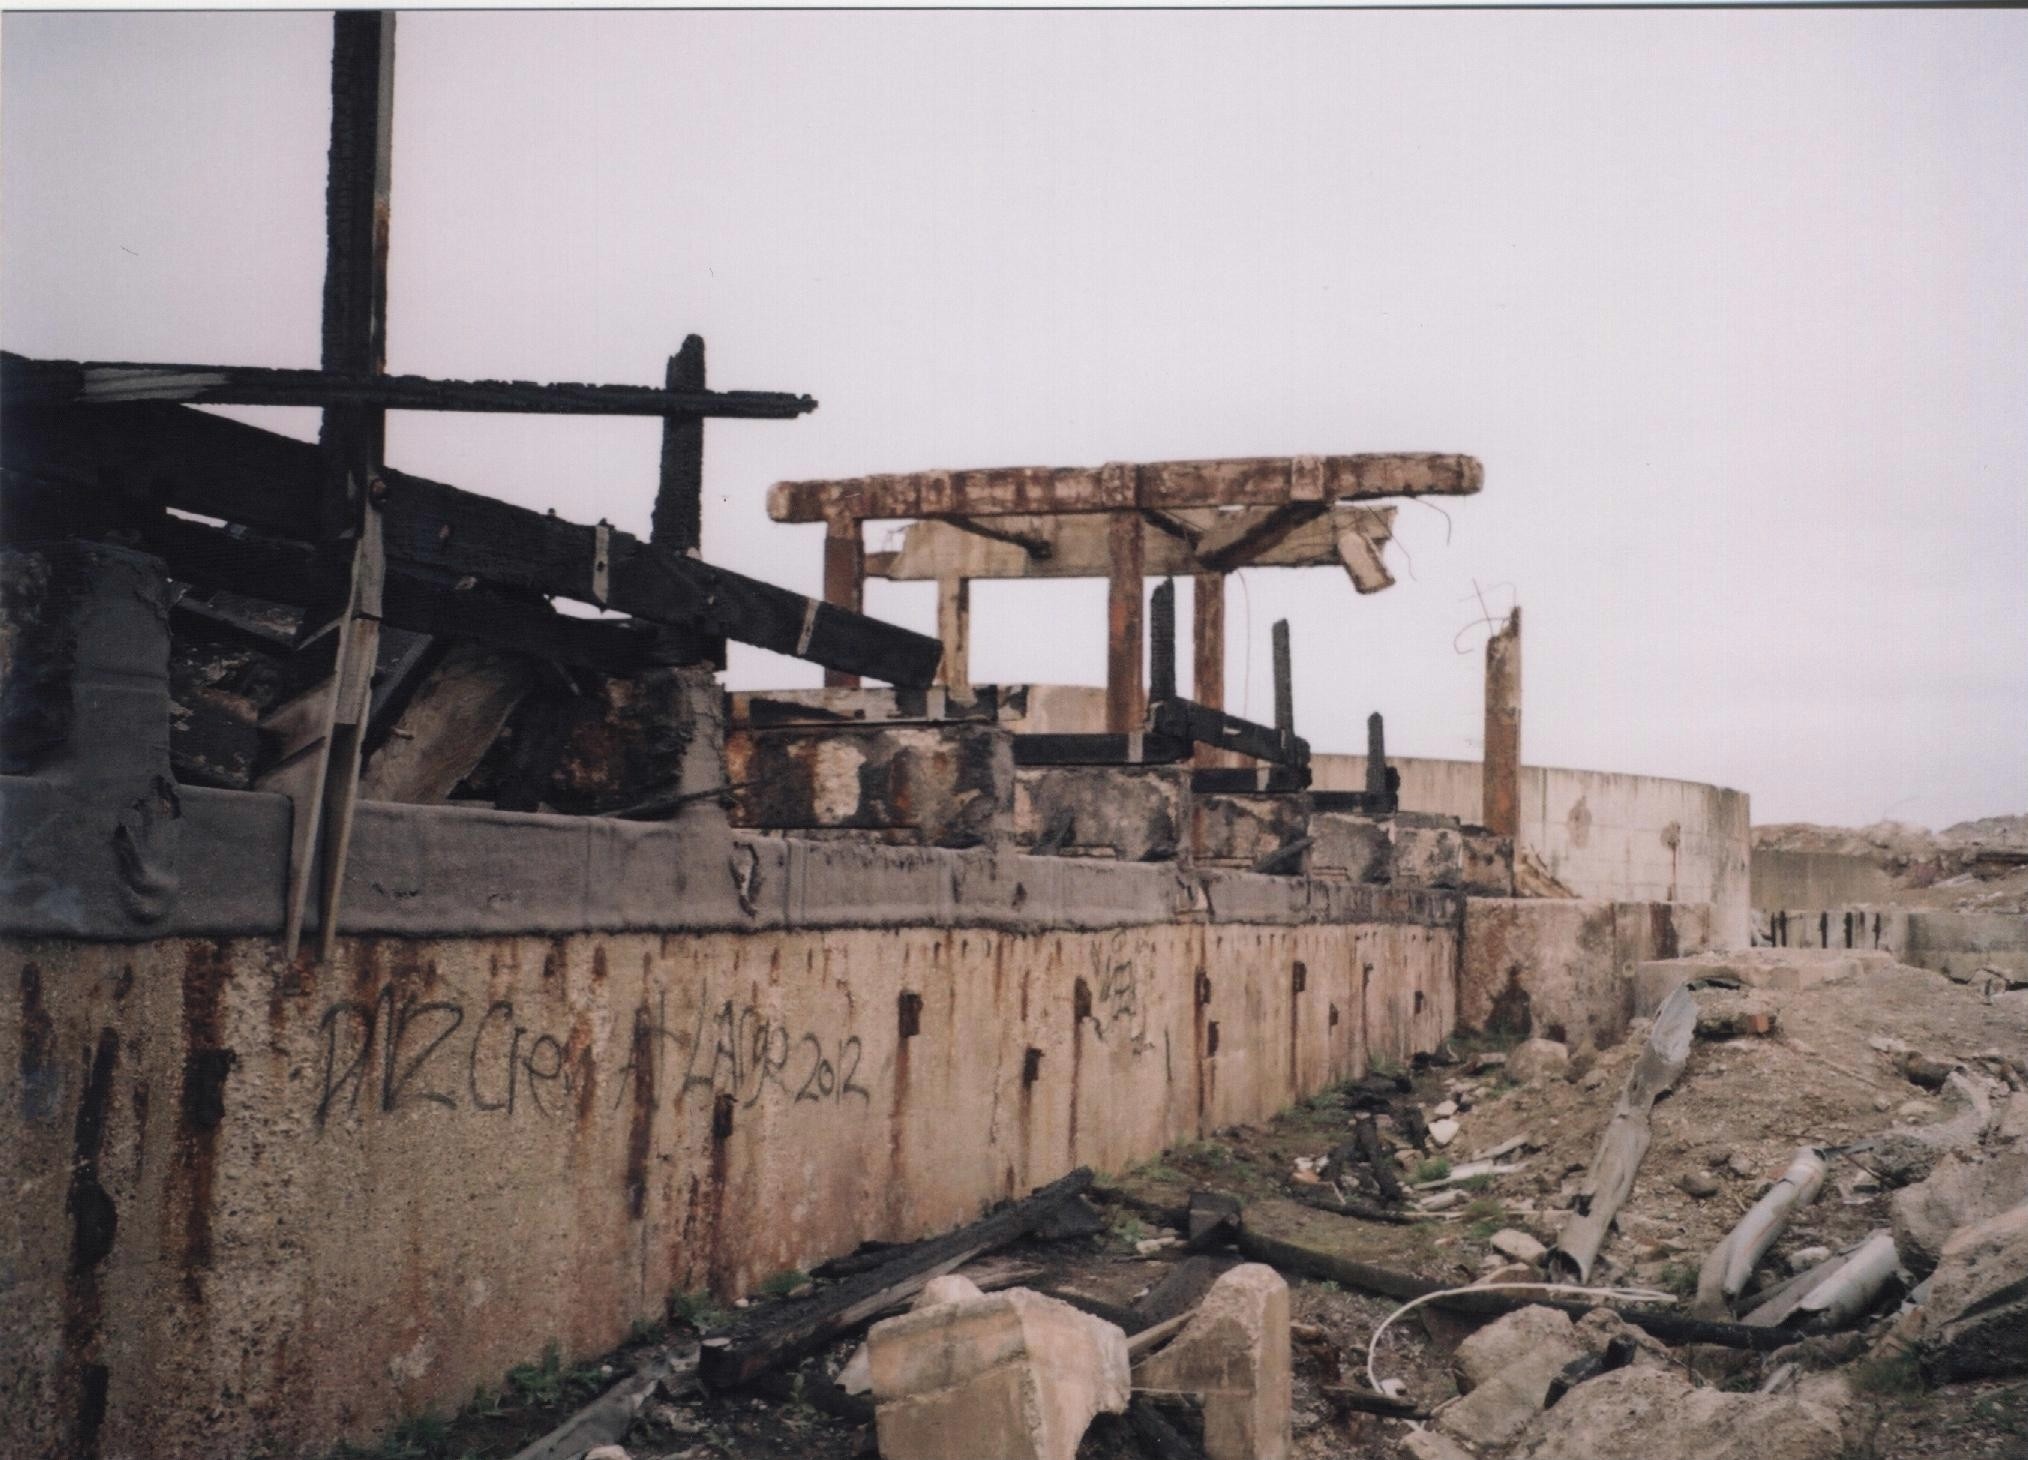
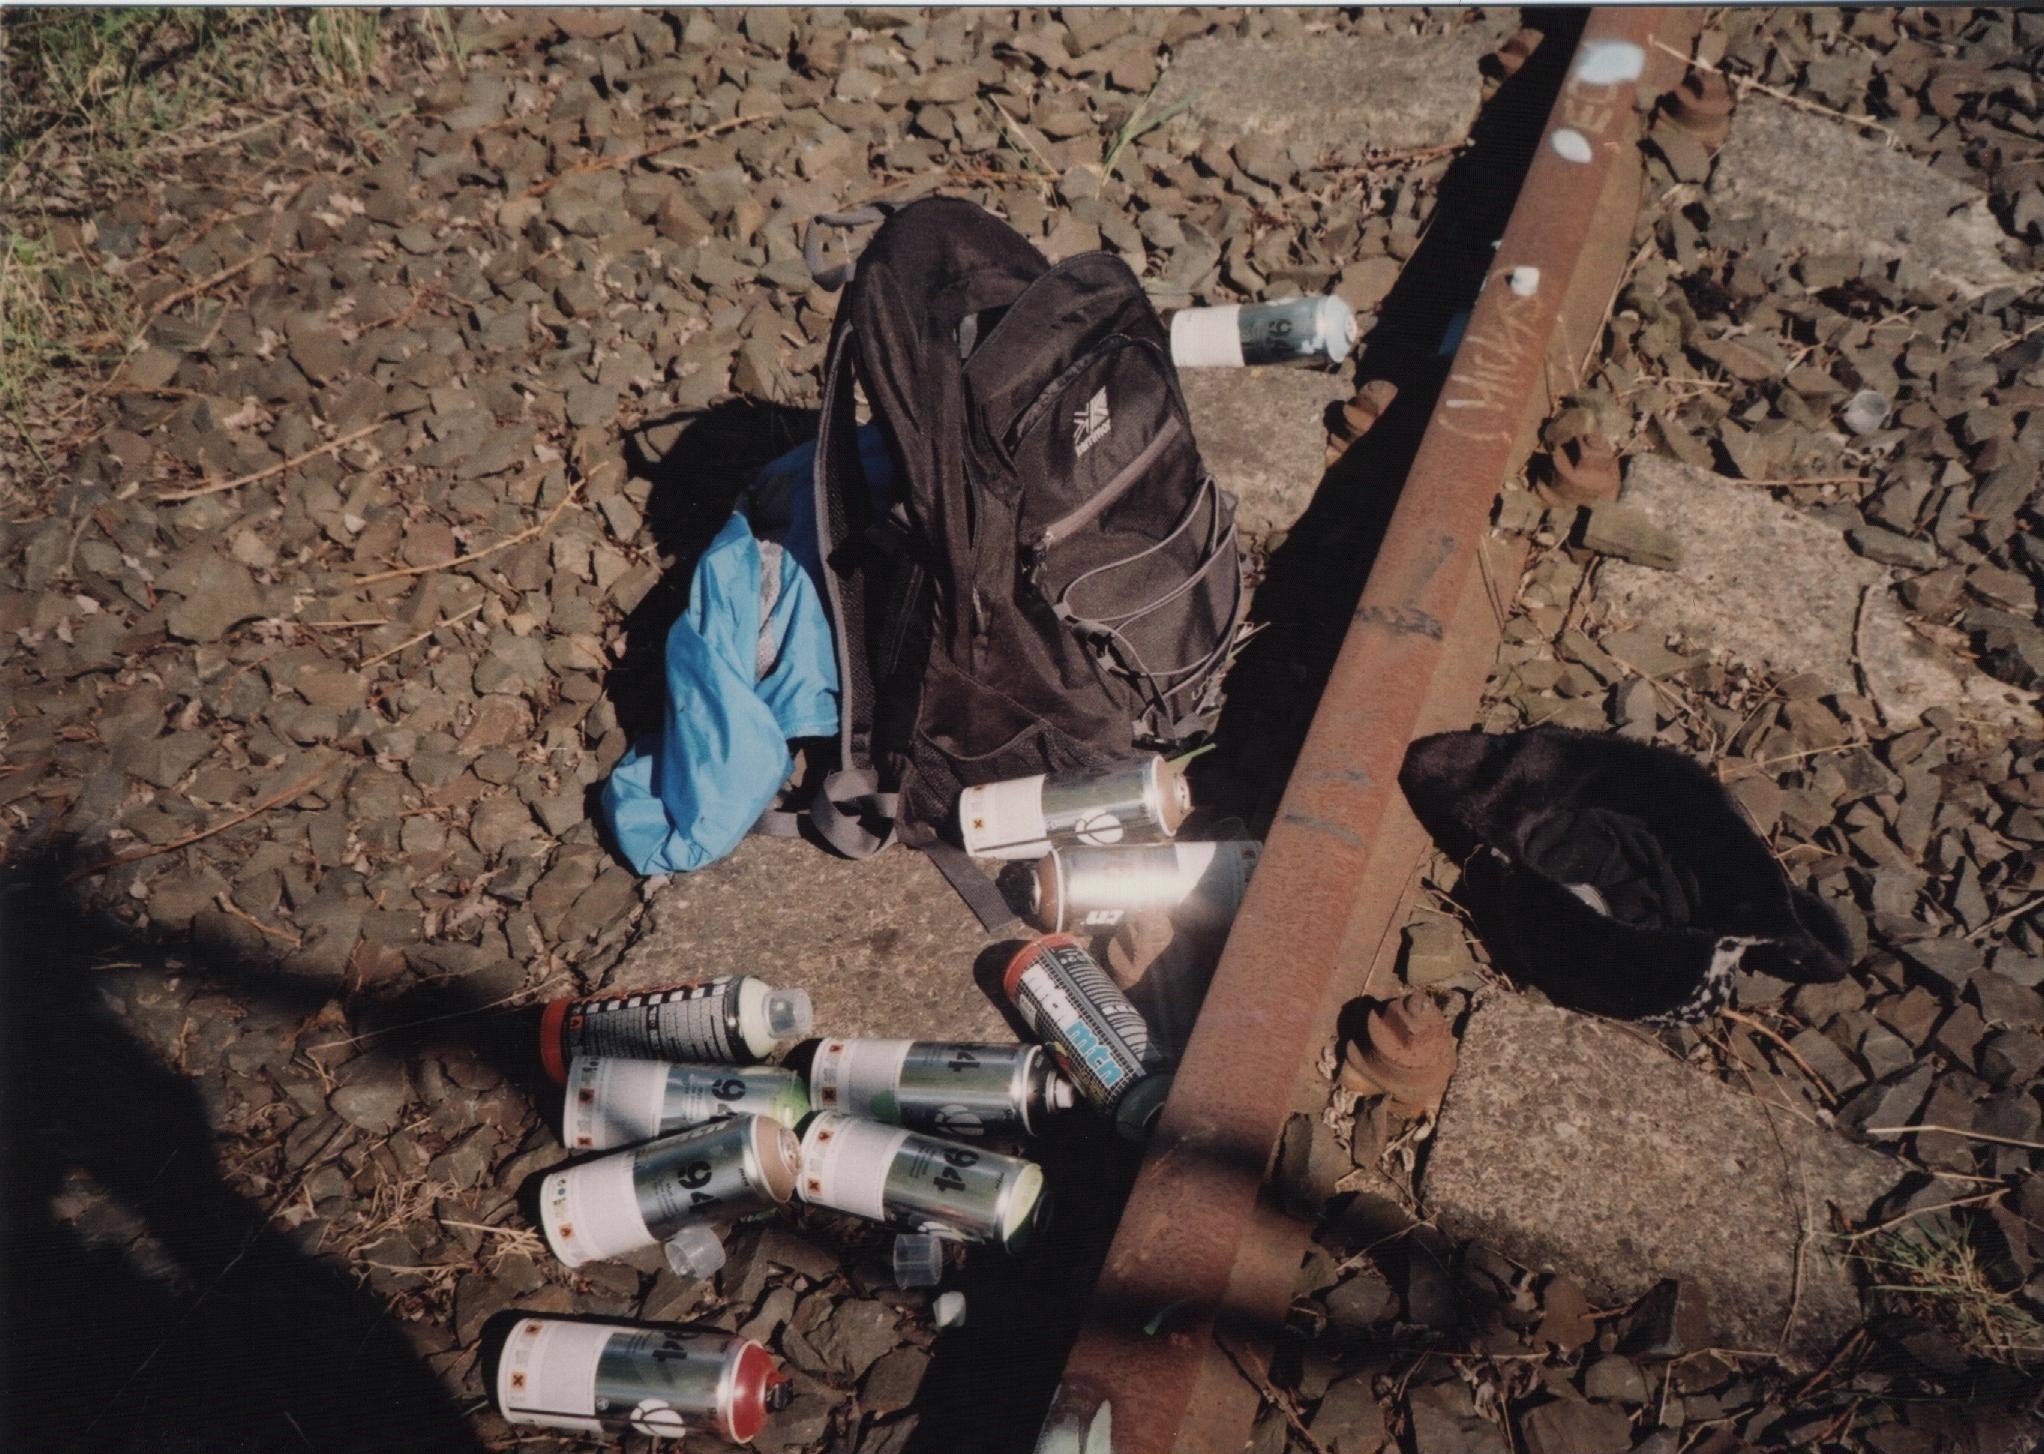
A couple of photos I had lying about that I like and thought I’d share.
A couple from Steetley and a couple from elsewhere…


Posted in Lomography
Tagged 2012, 35mm, analogue, film, Lomo, lomography, sunderland, uk
The easiest way to redscale a 35mm film also requires you to waste a full roll.
Luckily I had one from when my Meikai Mango camera popped open with a full roll inside. Damn £3 eBay purchase.
Firstly, pull out all the film from the roll you don’t mind wasting.
Then cut it off, leaving about an inch still attached to the actual canister.

Get the film that you want to redscale and tape the end of film hanging out onto the inch of film that’s hanging out of the canister you cut earlier, but flip the film over first as the main aim is to have a film that is flipped over inside the canister.


Take the two canisters that are now attached by the taped together film into somewhere dark (I normally just put my hands under a blanket in my bedroom).
Start winding your empty film canister so the film from the full canister is wound into the empty one. This has to be done in complete dark or your film will be exposed.
Once all your film is wound into the canister that started emptyyou can cut it off from the canister that is now empty. Don’t forget to leave an inch of film still attached to the now empty canister as you can use this for your next redscale film, without having to waste another roll of film.
One thing to remember when shooting with redscale film is that it needs a hell of a lot of light. Most of the photos I took with my first roll came out too dark but there were a few that turned out ok.


Posted in Lomography
Tagged 2012, 35mm, analogue, DIY, homemade, Kodak max 400, Lomo, lomography, newcastle, photography, Redscale, sunderland, ultra wide and slim, uws, vivitar
The Whiskey Film
If you’ve got any 35mm film lying around, used or not, and you want to experiment with the photos, give this a try. A word of warning though, you will probably lose a few photos as the process is unpredictable.
Start off by taking an empty plastic film canister (the pot the film came in). Fill it half way with your favorite whiskey. I used Whyte & McKay for mine but anything will do.
Pop you roll of film in and if there’s any space left in the pot, top it up with water. Now put the lid back on the pot and shake for about a minute to make sure the whiskey has soaked all the way through the film.
Leave it for as long as you want. I gave mine about 20 minutes but it all depends on how much you want to ‘destroy’ your film.
Then take the film from the pot, wash thoroughly in cold water and leave to dry in a slightly warm place (about 2 days should be enough).
Then I popped it in my Samsung Fino 130 that I found on eBay for about £3 and went on my travels around Sunderland and Newcastle. I bought this camera mainly for the bulb setting and how cheap it was.


As you can see there was some strange effects left over. Although a lot of the photos had been pretty much ruined, there was still a few that came out with nice colour fades and marks on them.
If I was going to do this again, I would make sure that I use nearly all the film on sunny days as that’s when the effects seem more noticeable.
Enjoy…
Camera: Samsung Fino 130
Film: Kodak Max 400
Posted in Lomography, Photos
Tagged 2012, experiment, expired, film, film destroying, fino 130, ISO 400, Kodak max, light trails, Lomo, lomography, newcastle, Samsung, sunderland, whiskey
The Lemonade Film.
So, I’ve been experimenting a bit with 35mm film. Its the unpredictability of not knowing how they’ll come out until they’re collected from the lab.
First up, I took one of the rolls from my collection of expired film. Expired film normally gives a soft finish and dream like effects to the film anyway but this just wasn’t enough anymore.
I started by taken the film from the plastic pot it came in and filled the pot with some fizzy lemonade. Pop the film back in an leave for about an hour. Once the time is up, wash the film down with cold water an then it was left to dry for about 3 days on the window sill.
Once it was dry I stuck it in my Vivitar Ultra Wide & Slim and took the the streets…


I was a bit disappointed by the results as I was hoping for more colour changes. The main effect is little black dots (I’m guessing from the bubbles in the lemonade) and a couple look as if the emulsion on the film had cracked.
Try this at home, it kills a few minutes on a rainy day…
Camera: Vivitar Ultra Wide & Slim
Film: Kodak Max 400 ISO
Posted in Lomography, Photos
Tagged 2012, 35mm, experiment, expired, film, film destroying, kodak 400 max, lemonade, Lomo, lomography, newcastle, sunderland, uk, ultra wide & slim, uws, vivitar
Tried dipping one of my films in vodka before having it developed and it’s put some nice greens on the photos.
Whiskey is the next experiment…


Posted in Lomography, Photos
Tagged 35mm, 35mm film, film camera, Lomo, lomography, photography
